The Best Way to Convert From Photos to 3D Model

3D agora
July 16th, 2024

Curious about how to convert your photos into a 3D model? You’re in the right place. This article will guide you through capturing high-quality images, editing them, and using photogrammetry software to create detailed 3D models. Start your journey from photos to 3D model now.
The Basics of Converting Photos to 3D Models
 Generated by SurferAI
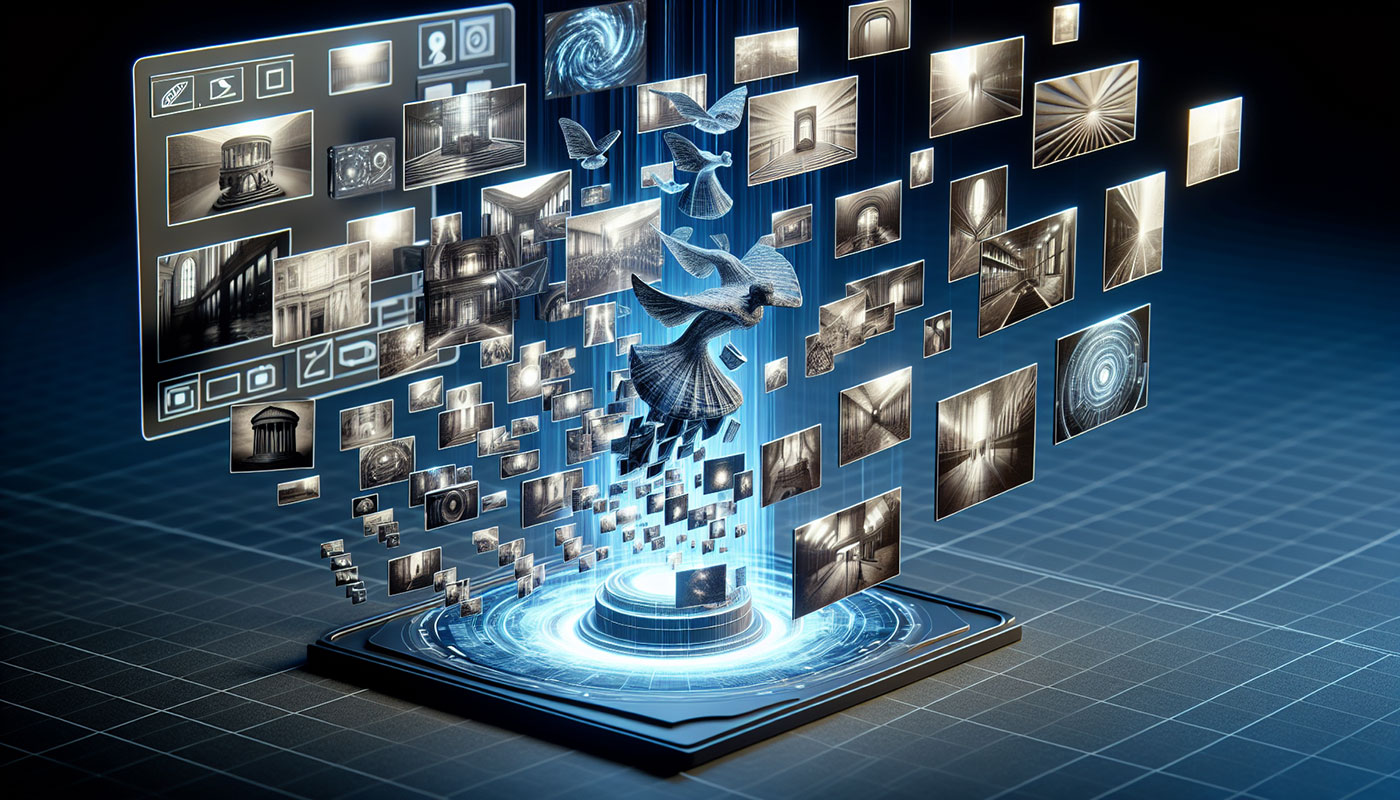
Photogrammetry – this term might sound complex, but it’s the surprisingly simple method at the heart of converting a photo into a 3D model. The process involves taking multiple photographs from every conceivable angle and using specialized software to weave them into a three-dimensional digital sculpture. Imagine the potential: from replicating artifacts for educational purposes to prototyping your next big invention, the ability to create a 3D model from photos is revolutionizing how we interact with the world around us.
It’s not just about creating something new; it’s about breathing life into what already exists. With photogrammetry software, the mundane becomes extraordinary, allowing you to turn photos into models that can be examined from every angle, modified, or even 3D printed. This method is a game-changer for artists, engineers, and hobbyists alike, democratizing the means to make a 3D model that previously required expensive equipment and expertise.
The transformative nature of making a 3D model from photos doesn’t stop there. It’s a practice that embodies the intersection of art and technology, pushing the boundaries of what’s possible. As we look at the applications of this technology, we’ll see that this approach is not just about the final product; it’s a journey through a landscape of innovation that continues to evolve and expand.
Essential Tools and Equipment
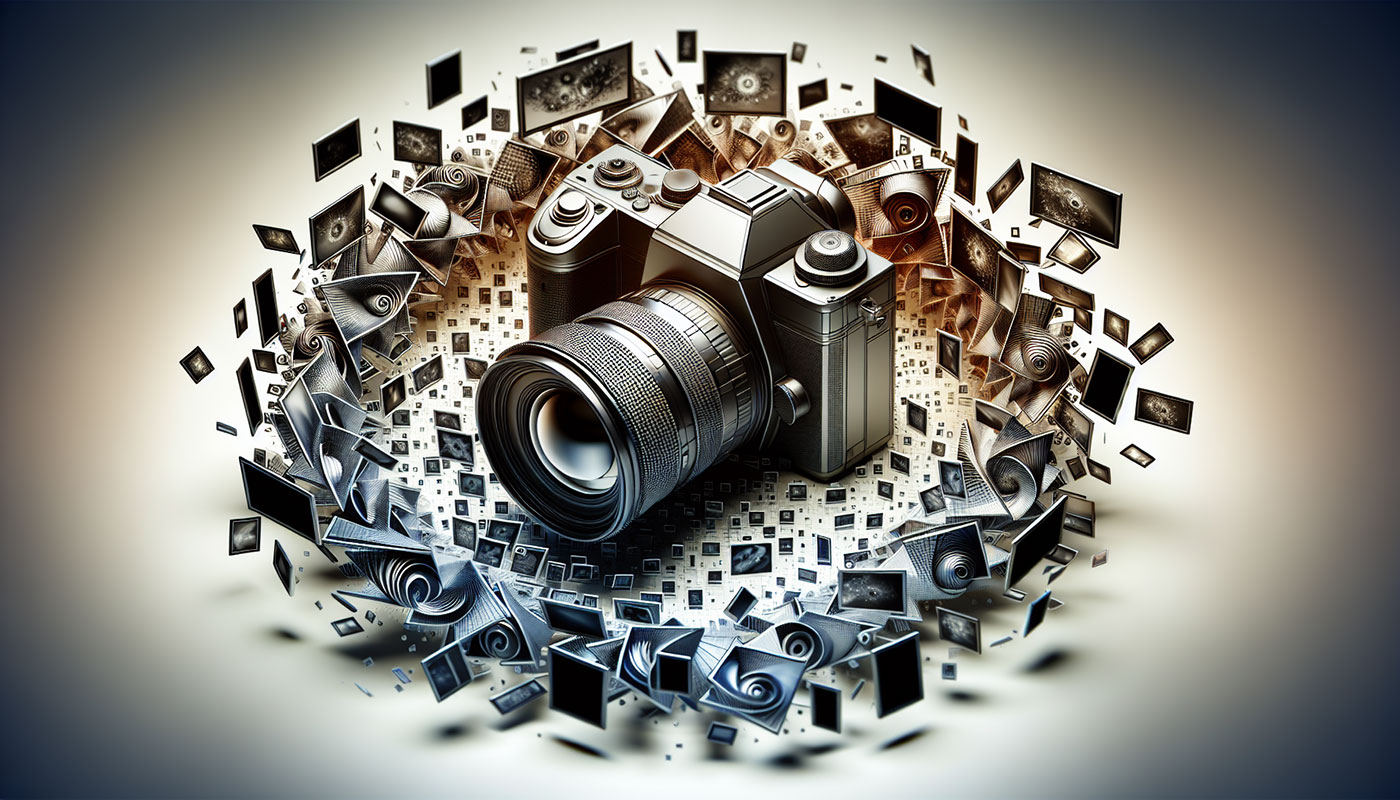
To embark on this journey, you’ll need the right tools. The cornerstone of creating detailed 3D models from photographs is a high-resolution camera. A DSLR, or any camera boasting a high megapixel count, ensures that every nuance of your subject is captured with clarity. Consistent lighting is equally important; softbox lights or the soft glow of indirect natural light can eliminate harsh shadows and highlight the details that make your 3D model truly stand out.
Stability is key – a reliable tripod will keep your camera steady, ensuring that each image is sharply focused and aligned with the next. When it comes to refining those images, software like Adobe Photoshop allows you to adjust brightness, contrast, and other elements to achieve the perfect shot. And let’s not forget the heart of the operation: photogrammetry software, which stitches your images into a digital tapestry, transforming them into a model that’s ready for the world to see.
But technology alone won’t carry you through; you’ll need a powerful computer that can handle the demanding task of processing multiple images and running advanced software without a hitch. With these tools at your disposal, you’re equipped to take the first step in converting your photographs into stunning 3D models.
Capturing High-Quality Images
 Generated by SurferAI
The canvas for your 3D masterpiece is a series of high-quality images. To ensure your model captures every detail, you must generate photos in a well-lit environment, avoiding direct sunlight or harsh artificial light that can create unwanted shadows and reflections. The consistency of this good lighting is crucial; it helps maintain the integrity of the colors and surfaces in your photographs.
Your digital camera is your brush, and its settings are your palette. Set your camera to manual mode, with a low ISO and a mid-range aperture, to give you control over the sharpness and depth of field in each picture. A tripod is indispensable for maintaining a consistent angle and distance from your subject, ensuring that the multiple images you capture mesh seamlessly when it comes time to create your 3D model.
Capture life from multiple angles – the more photos, the merrier. While a single photo might not be enough, you’ll want to envelop your subject in a 360-degree embrace, taking pictures from all sides, as well as from above and below. This comprehensive approach ensures that every contour and feature of your subject is translated into the digital realm, ready to be reimagined as a 3D model.
Editing and Preparing Your Photos
Once you’ve captured your images, the first step in refining them is to upload and edit. This is where you can adjust exposure, contrast, and color balance to ensure consistency across all pictures. While optional, taking the time to enhance details and correct any lens distortions can significantly improve the final quality of your 3D model.
Cropping can focus your viewer’s eye on the object of interest, eliminating any distracting elements that might confuse the photogrammetry software. If your background is cluttered or the lighting has caused shadows, the heal tool can be your ally, helping to remove these unwanted elements and bring your desired shape into clearer focus. By removing unwanted elements, you can ensure the best possible results from your photogrammetry software.
Organizing your images with clear labels and consistent naming conventions simplifies the process when it’s time to simply upload them into the photogrammetry software. By taking advantage of batch processing tools, you can apply uniform edits to multiple photos, saving valuable time and ensuring that each image contributes to the creation of a high-quality 3D model.
Photogrammetry Software Options
 Generated by SurferAI
With your images primed for transformation, the next stage is to choose the right photogrammetry software. This software is the technological alchemist that turns two-dimensional images into full-fledged 3D models. Options abound, from free software like Meshroom and 3DF Zephyr Free, which offer a straightforward method to get started, to premium options like RealityCapture, renowned for their advanced capabilities and speed.
Each software comes with its own set of tools and features, including the use of a dialog box for user input. Some may excel with their user-friendly interfaces, while others might offer more robust processing power or finer control over the final model. The key is to select a tool that aligns with your project’s needs and your level of expertise.
Remember that these software options are more than mere programs; they are gateways to a new realm of creativity. By importing images and harnessing the power of photogrammetry algorithms, you’re on the cusp of breathing life into your 3D model. With the help of Autodesk’s cloud storage, you can easily manage and access your projects anytime, anywhere.
Creating the 3D Model
 Generated by SurferAI
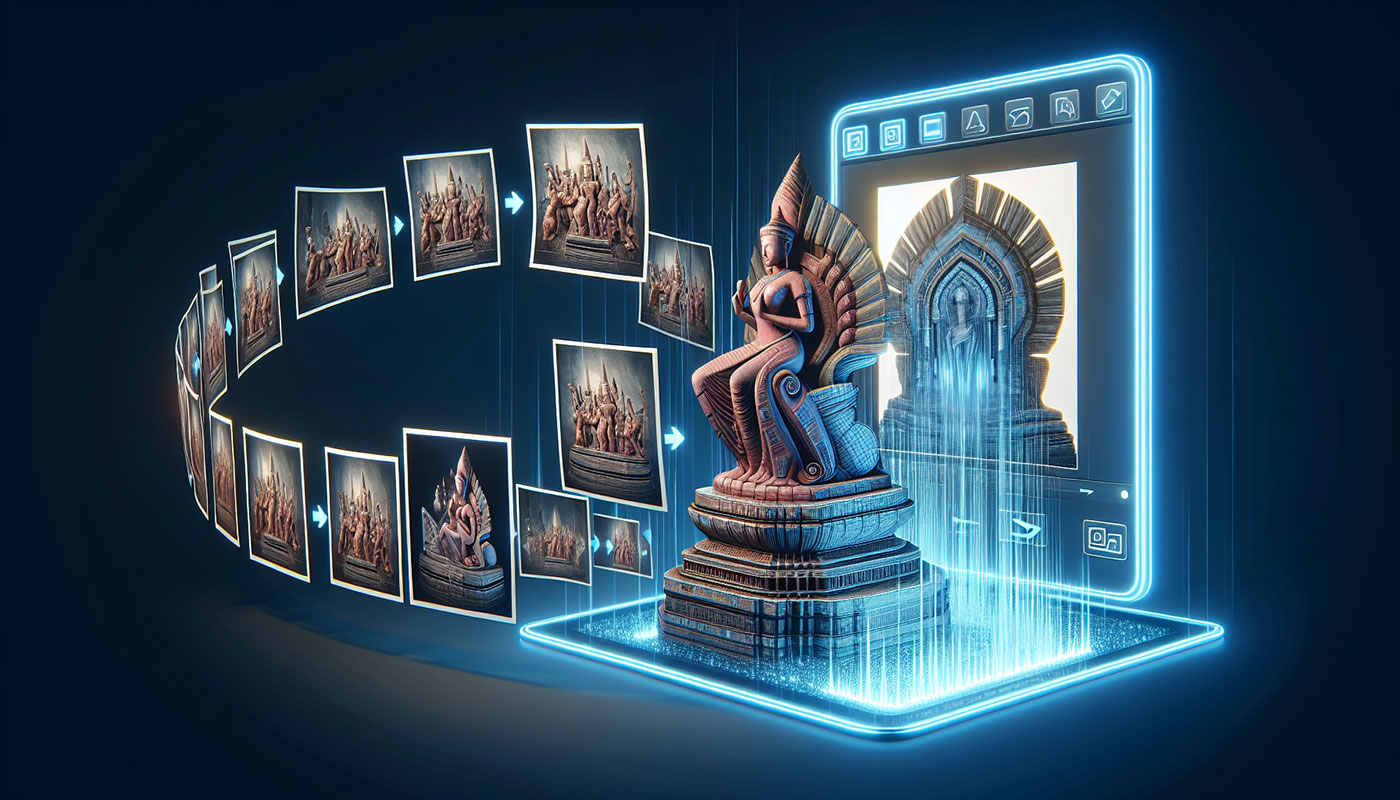
The magic unfolds as you create the 3D model. Importing your carefully captured and edited images into the photogrammetry software initiates a complex dance of algorithms and calculations. As the software scans for common points across the photos, a point cloud begins to form, eventually morphing your two-dimensional images into a singular, detailed 3D object.
This process isn’t just about creating something new; it’s about reconstructing reality. The software’s ability to discern reference points or markers within your images ensures that the scale and orientation of your model are true to life. It’s like watching a puzzle come together, with each photo joining its fellows to create a cohesive and accurate representation of your subject.
The result is a 3D model that not only looks like your original object but also feels like it. The textures, the contours, the very essence of the subject is captured in a form that can be rotated, viewed, and interacted with in ways that a simple photo could never allow.
Optimizing and Refining the 3D Model
Creating your 3D model is just the beginning; now it’s time to refine and optimize. Reducing the polygon count can help your model run smoothly on various platforms, especially when dealing with large-scale displays or complex simulations. Decimation tools are particularly useful here, allowing you to pare down the complexity of your model without losing the essence of its shape.
Textures bring realism to your model, but they must be balanced with performance. Using high-quality textures that are well-compressed and appropriately sized ensures that your model looks great without being a drain on resources. Level of Detail (LOD) techniques are especially useful for models that will be viewed at different distances, allowing the detail to scale up or down as needed.
Once you’ve sculpted your model to perfection, it’s essential to export it in a format compatible with your intended use. Formats like FBX or OBJ are widely accepted and can be easily integrated into various platforms, ensuring your model is ready for whatever comes next.
Applications of 3D Models Created from Photos
 Generated by SurferAI
The applications of 3D models created from photos are as varied as they are impressive. In the world of augmented reality, for example, these models allow shoppers to place virtual furniture in their homes with stunning realism. Virtual reality developers, meanwhile, use these models to construct immersive environments that transport users to other worlds.
For product designers, 3D models serve as an invaluable tool for prototyping, enabling them to quickly iterate and refine their ideas. Online retailers have also caught on, using 3D models to provide customers with interactive views of products that enhance the shopping experience. And let’s not overlook the potential for architectural visualization, where detailed models can bring architectural projects to life in a way that blueprints alone cannot.
But the uses extend even further, reaching into gaming, where developers craft detailed environments based on real-world objects. The film and animation industries use these models for visual effects that blur the line between reality and imagination. The power to create a 3D model from photos is reshaping industries by offering new ways to visualize, design, and interact with digital representations of the physical world.
Preparing Your 3D Model for Printing
Once your 3D model is ready, you might choose to bring it into the physical world through 3D printing. The first step is to optimize your model and select the appropriate file format. Software such as AnkerMake’s model library can aid in this process, ensuring your design is print-ready.
Slicing is the next critical phase, where you convert your 3D model into a series of layers that the printer can interpret. This is where you can fine-tune settings like layer thickness and infill density to achieve the desired strength and detail in your print. Additionally, calibrating your printer’s nozzle and bed temperature is essential for ensuring that each layer bonds correctly, resulting in a successful print.
By preparing your 3D model thoughtfully, you’re setting the stage for a printing process that can flawlessly translate your digital creation into a tangible object. With each layer, your model takes on a new dimension, gradually emerging from the build plate as a physical manifestation of your vision.
Initiating and Monitoring the Printing Process
The moment of truth arrives as you initiate the printing process. A level print bed and properly loaded filament set the foundation for a successful print, ensuring each layer adheres correctly from the very start. With the AnkerMake M5, for example, you can start the print via the app on your mobile device or through direct G-code/A-code transmission from your computer, offering flexibility and control over the process.
During the early stages of the print, vigilant monitoring is advised. Watching as the first layers take form and adhere to the build plate can prevent issues that might compromise the integrity of the final product. It’s a process that requires patience and attention, but the reward is a 3D print that embodies the precision and detail of your initial photographs.
Summary
From the click of a shutter to the whir of a printer, transforming photographs into 3D models is a journey that marries precision with creativity. We’ve explored the tools, techniques, and applications that make this possible, offering a glimpse into a world where the lines between the physical and digital realms are increasingly blurred. Embrace this innovative process and join the ranks of creators who are reshaping the way we see and interact with the world.